In a world increasingly dominated by mass production and sleek minimalism, there is a growing movement toward authenticity, individuality, and craftsmanship. One of the most compelling expressions of this trend is the creation of Live Edge Wood Epoxy River Tables —functional pieces of furniture that are also works of art. These tables celebrate the raw beauty of nature while incorporating modern materials to create something both organic and enduring.
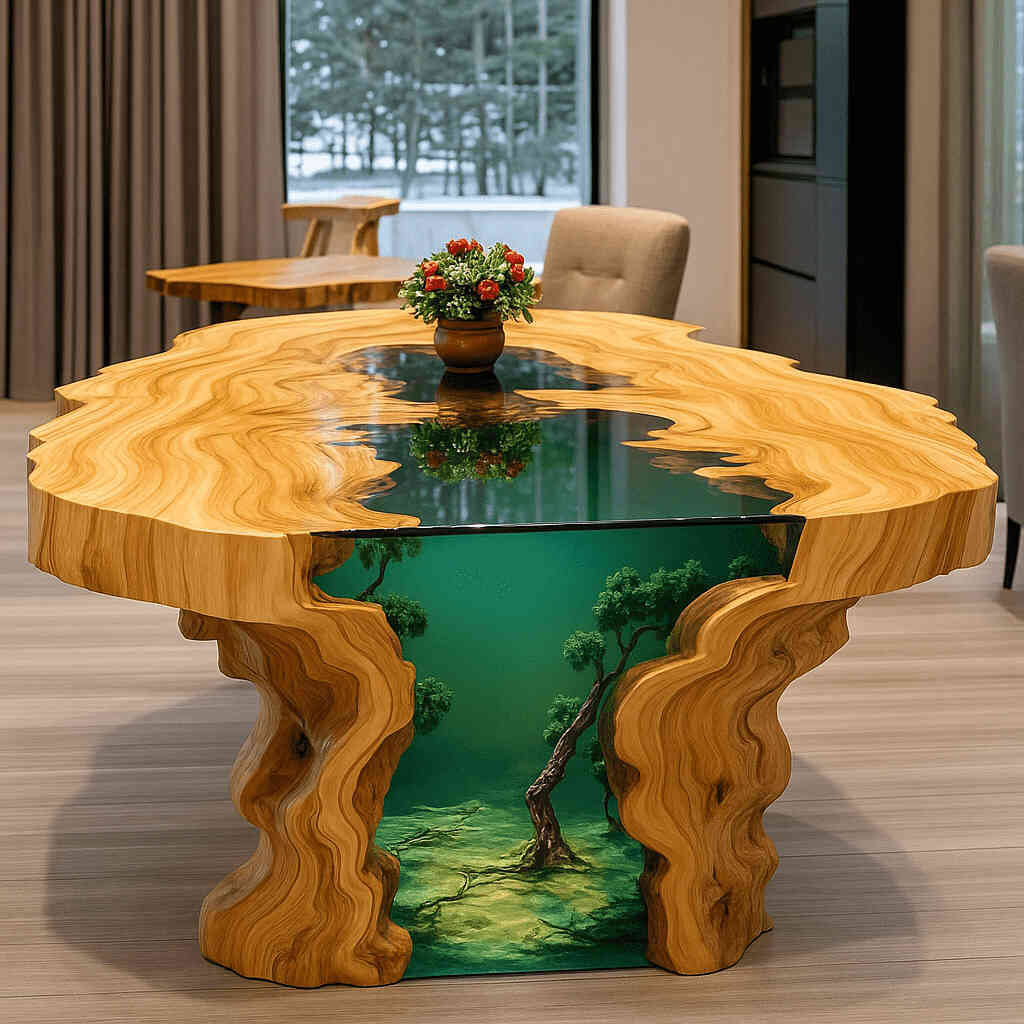
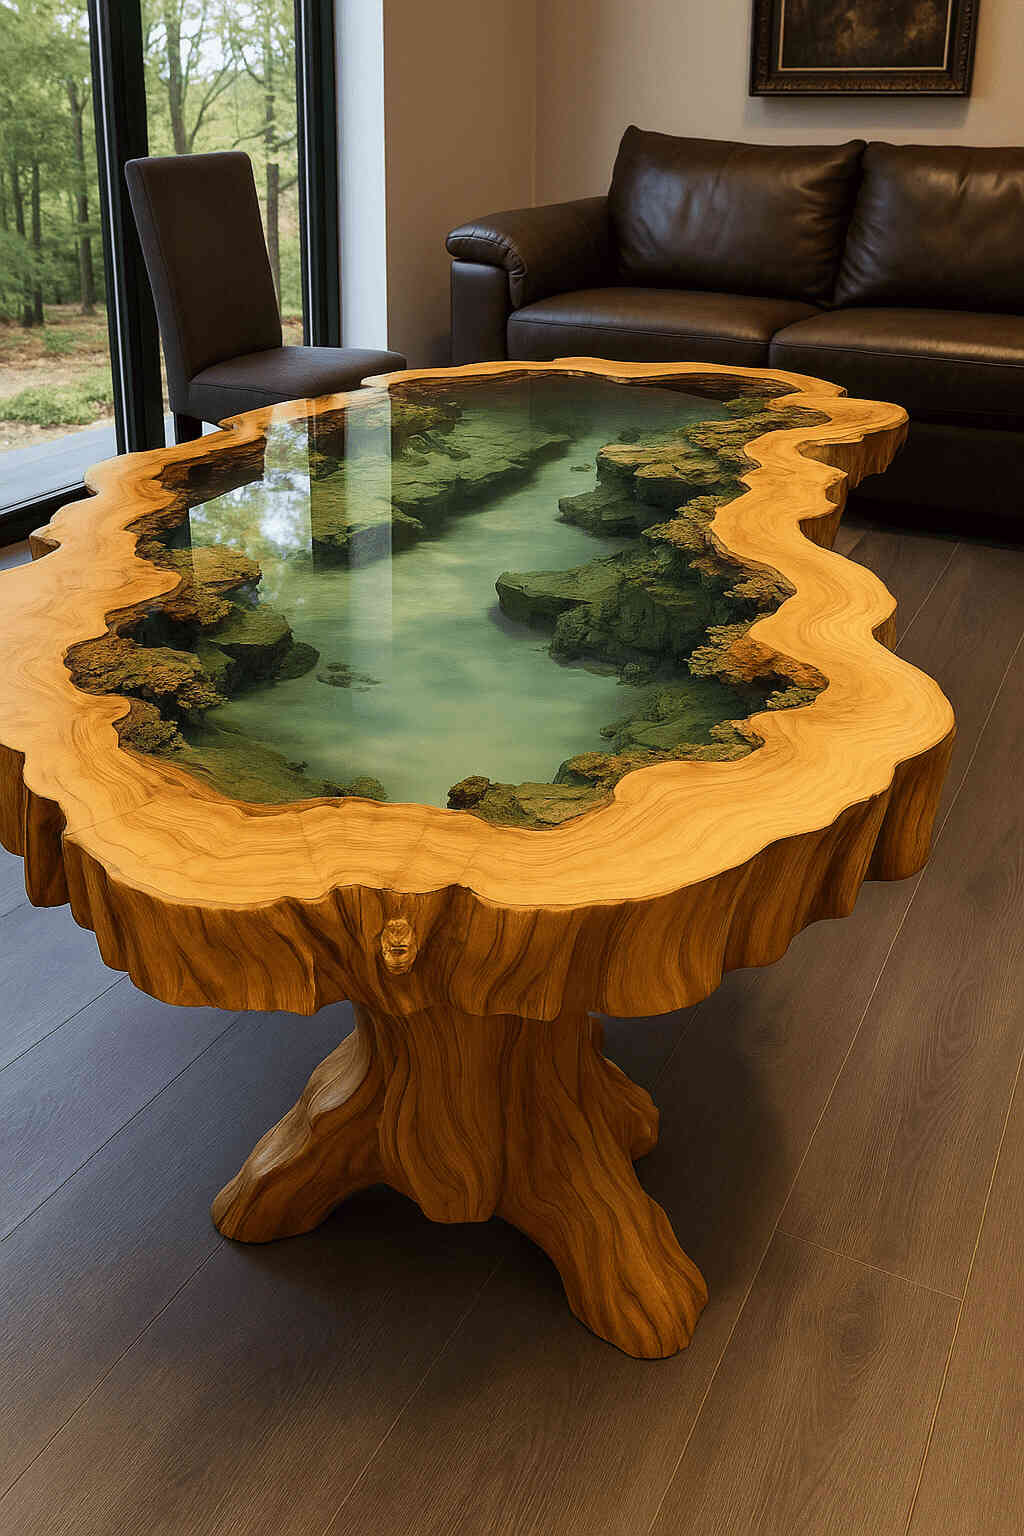
A Live Edge Wood Epoxy River Table is more than just a table; it’s a statement piece that tells a story. It combines the natural contours and textures of wood with the fluid elegance of epoxy resin, creating a striking contrast between earthy warmth and crystalline clarity. The “river” in the name refers to the flowing lines of colored or clear epoxy that meander through the wood like a stream cutting through a forest floor.
This article will guide you through the journey of creating your own Live Edge Wood Epoxy River Table , from selecting the perfect slab to finishing touches that elevate your project into a true masterpiece. Whether you’re a seasoned woodworker or an enthusiastic beginner, crafting such a table offers a deeply rewarding experience—one that merges patience, creativity, and respect for nature.
Contents
Part I: Understanding the Essence of a Live Edge Wood Epoxy River Table
What Defines a Live Edge Wood Epoxy River Table?
At its core, a Live Edge Wood Epoxy River Table is a unique fusion of two contrasting elements: the rugged, unrefined edge of a tree and the smooth, glossy finish of epoxy resin. The live edge refers to the natural, untouched perimeter of a wooden slab, often displaying knots, bark remnants, and irregular shapes that highlight the tree’s life history. This element contrasts beautifully with the polished center, where epoxy resin flows like a river, sometimes dyed in rich hues, sometimes left crystal clear.
The combination of these elements results in a piece that is not only visually stunning but also tactilely engaging. Each grain line, each knot, and each ripple in the resin contributes to a narrative that cannot be replicated—it is truly one-of-a-kind.
Why Choose a Live Edge Wood Epoxy River Table?
There are many reasons why someone might choose to craft a Live Edge Wood Epoxy River Table :
- Uniqueness : No two slabs of wood are alike, and no two pours of epoxy will ever behave identically. This ensures that every finished table is distinct.
- Connection to Nature : Using natural materials fosters a deeper appreciation for the environment and the resources we use.
- Creative Expression : From choosing colors to designing the layout of the epoxy “river,” each step allows for personal artistic input.
- Durability and Longevity : With proper care and sealing, these tables can last for generations.
Crafting a Live Edge Wood Epoxy River Table is not just about making furniture—it’s about creating a legacy. It’s about honoring the past life of a tree and transforming it into something beautiful and functional for the future.
The Emotional and Aesthetic Appeal
Beyond utility, a Live Edge Wood Epoxy River Table holds emotional resonance. It invites conversation, evokes nostalgia, and creates a focal point in any room. Its presence is calming, grounding—a reminder of the natural world amidst the hustle of daily life.
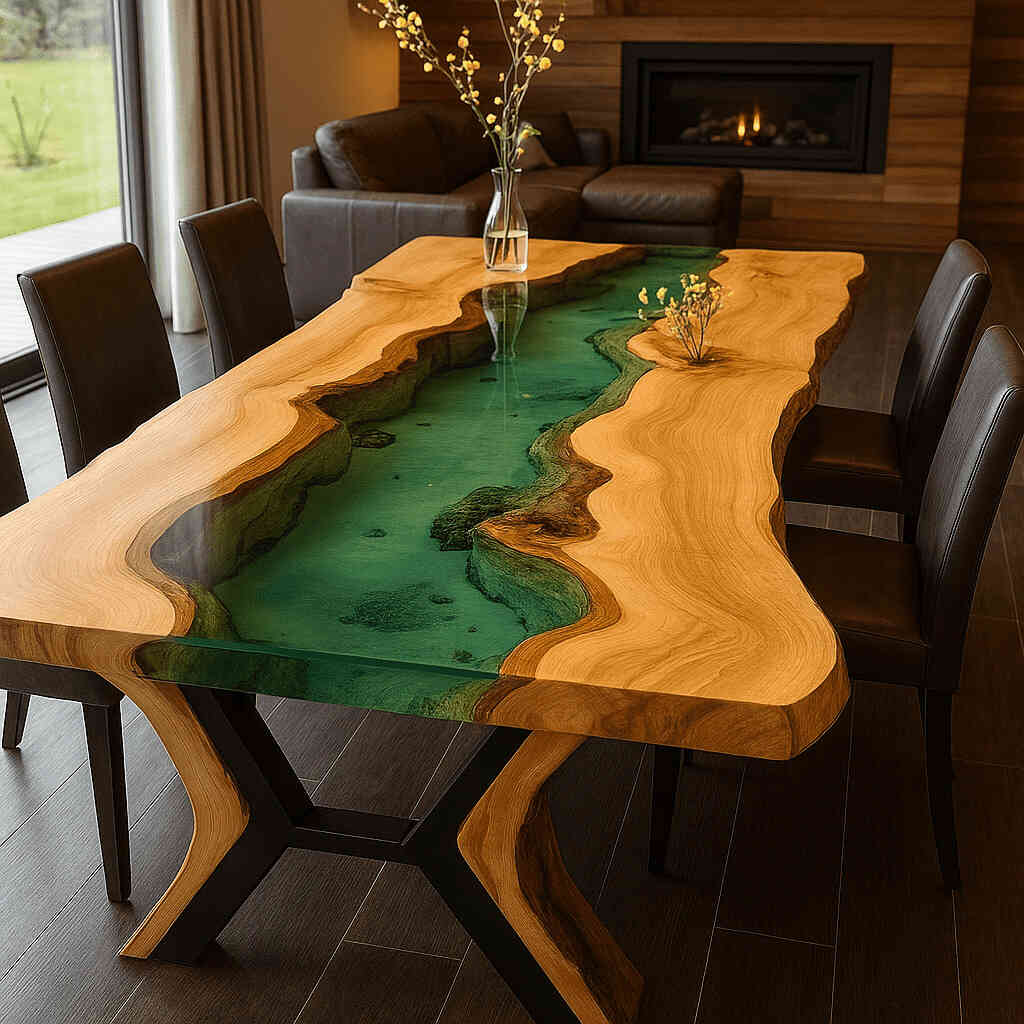
Visually, the interplay between dark wood tones and vibrant or translucent resin creates depth and movement. The live edge adds texture and character, while the resin brings a sense of modernity and refinement. Together, they form a harmonious balance between rustic charm and contemporary design.
Part II: The Journey of Creation – Step-by-Step Guide to Building Your Masterpiece
Step 1: Selecting the Perfect Slab
Every great Live Edge Wood Epoxy River Table begins with the selection of the right wood. The slab you choose will serve as the foundation of your project, so it’s essential to take time and make an informed decision.
Choosing the Right Species
Different types of wood offer varying characteristics in terms of hardness, grain pattern, color, and workability. Some popular choices include:
- Black Walnut : Known for its rich chocolate brown color and straight grain.
- Maple : Offers a lighter tone with a fine, uniform texture.
- Oak : Strong and durable, with prominent grain patterns.
- Cherry : Has a warm reddish hue that deepens over time.
- Reclaimed Wood : Adds historical value and unique patina.
Each species has its own personality, so consider what aesthetic you want your final table to convey.
Evaluating the Slab
When evaluating a slab, look for the following:
- Thickness : For a coffee table or dining table, aim for at least 2 inches thick to provide stability and allow for shaping.
- Condition : Check for cracks, warping, or signs of insect infestation. These issues can often be repaired, but they may require extra effort.
- Live Edge Integrity : Ensure the natural edge is intact and free from significant damage.
- Size : Consider the intended use and available space. Larger slabs are more dramatic but heavier and harder to handle.
Take your time to inspect multiple slabs. Touch them, turn them over, imagine how the epoxy will flow through the natural voids and curves.
Step 2: Preparing the Workspace and Gathering Tools
Before diving into the build process, it’s crucial to set up a safe and organized workspace. You’ll be working with power tools, sharp blades, heavy materials, and potentially toxic chemicals (epoxy), so preparation is key.
Essential Tools and Materials
Here’s a list of tools and materials you’ll likely need:
- Saw : Band saw, chainsaw, or hand saw for trimming the slab.
- Planer and Jointer : To flatten and square the surfaces.
- Sander : Belt sander, orbital sander, and sandpaper (from coarse to very fine grit).
- Clamps and Supports : For holding the slab during work and pouring.
- Epoxy Resin System : High-quality casting resin designed for deep pours.
- Pigments and Dyes : Alcohol inks, mica powders, or specialized epoxy dyes.
- Mixing Containers and Stir Sticks : For accurate resin mixing.
- Protective Gear : Gloves, respirator, eye protection, apron.
- Finishing Supplies : Food-safe oils (like mineral oil or tung oil), wax, or polyurethane.
Make sure your workspace is well-ventilated, especially when working with epoxy. If indoors, consider using fans or opening windows. If outdoors, ensure a clean, dust-free area for pouring.
Step 3: Shaping and Preparing the Wood
Once you have your slab and tools ready, it’s time to shape and prepare the wood for the epoxy pour.
Flattening the Faces
Most raw slabs are uneven due to natural drying and warping. Use a jointer or hand plane to flatten one face, then run it through a planer to achieve parallel surfaces. If you don’t have access to large woodworking machines, you can use a router sled or hand tools to level the surface.
Squaring the Edges
Using a bandsaw or circular saw with a guide, square off the ends and sides if needed. Remember to preserve the live edge on at least one side to maintain the natural aesthetic.
Creating the River Channel
This is where the magic begins. Decide on the path your epoxy river will take. It could be a single central channel, branching tributaries, or even wrap around knots and voids.
Use a jigsaw, router, or chisel to carve out the desired shape. Be careful not to go too deep—typically ½ to ¾ inch is sufficient unless you’re doing a double-sided pour. Sand the inside of the channel thoroughly to remove any rough edges and ensure good adhesion for the epoxy.
Sealing Cracks and Voids
Some slabs may have natural cracks or gaps. Fill these with thin cyanoacrylate glue (CA glue) mixed with sawdust or small wood chips. Let it cure, then sand flush. This prevents epoxy from seeping through unwanted areas during the pour.
Step 4: Designing the Epoxy Flow
Now comes the creative part—planning the visual impact of your Live Edge Wood Epoxy River Table .
Choosing Colors and Effects
Epoxy resin can be tinted in countless ways. Consider:
- Natural Tones : Clear or slightly amber-tinted resins mimic water or ice.
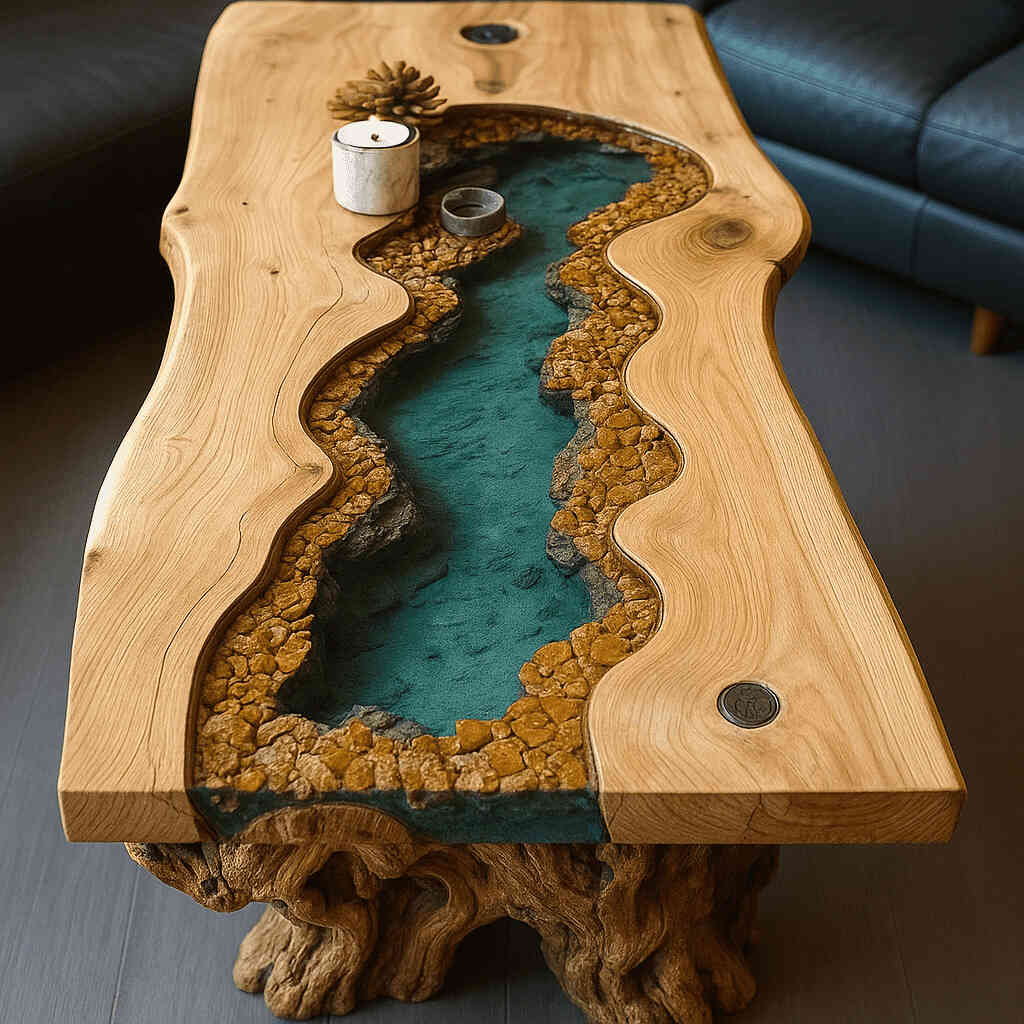
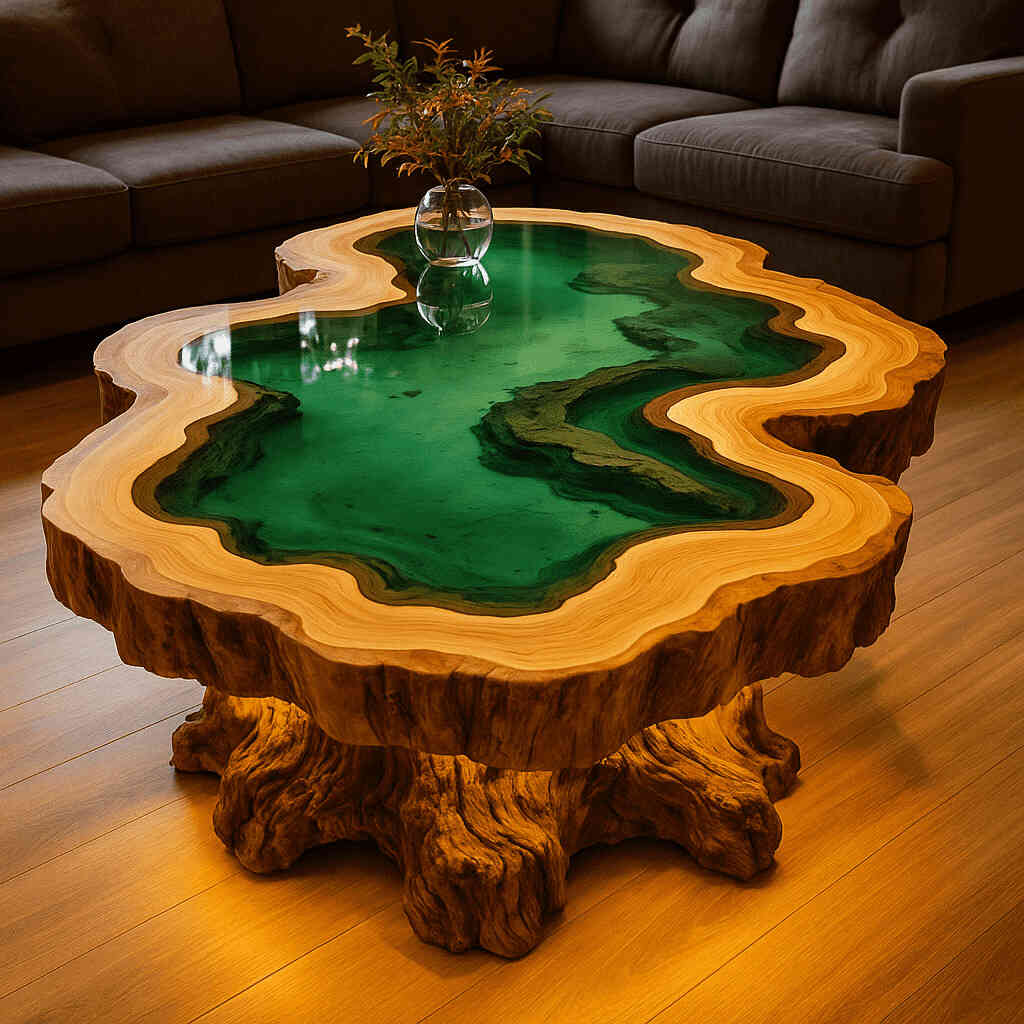
- Earthy Hues : Greens, browns, and blues evoke forests and rivers.
- Bold Contrasts : Deep reds, blacks, or metallics add drama.
- Layered Effects : Multiple pours with different colors can create depth and complexity.
You can also embed objects like stones, shells, or metal flakes for added interest. Just ensure they’re clean and dry before embedding.
Planning the Pour Pattern
Sketch out your vision on paper or directly onto the slab. Will the river be narrow and winding? Wide and bold? Will it connect multiple voids? Think about how light will interact with the cured resin and how the eye will travel across the surface.
Remember that epoxy self-levels, so avoid overly intricate designs that rely on precision. Instead, embrace the organic nature of the medium.
Step 5: Mixing and Pouring the Epoxy
Pouring the epoxy is both exciting and nerve-wracking. Proper technique is crucial to achieving a flawless result.
Understanding Epoxy Chemistry
Resin and hardener must be mixed in precise ratios (often 1:1 or 2:1). Improper mixing leads to incomplete curing, resulting in sticky or soft spots.
Work in a clean environment. Dust, moisture, and temperature fluctuations can all affect the outcome. Ideal conditions are around 70–80°F with low humidity.
Mixing Technique
Use graduated measuring cups and stir slowly and thoroughly for several minutes. Scrape the sides and bottom of the container to ensure full mixing.
Pouring the Resin
Start by pouring into the deepest sections first, then work outward. Use a heat gun or torch to pop bubbles as they rise. Work quickly but carefully—most epoxies begin to gel within 30–60 minutes depending on the product and temperature.
If doing multiple layers, wait until the previous layer is firm but not fully cured (usually 12–24 hours). This allows for bonding without disturbing the lower layer.
Managing Heat Build-Up
Deep pours generate heat, which can cause cracking or discoloration. Use slow-cure epoxy systems designed for thick applications, and pour in stages if necessary.
Step 6: Curing and Demolding
After the final pour, patience becomes your greatest ally.
Allowing Time to Cure
Most epoxies require 24–72 hours to cure enough for demolding, but full curing can take up to 7 days or longer. Avoid moving or touching the slab during this period.
Removing Clamps and Supports
Once the resin is solid to the touch, carefully remove clamps and supports. Inspect the pour for imperfections like bubbles, sinkholes, or unevenness.
Filling Imperfections
Minor flaws can be filled with additional resin, sanded, and polished later. Don’t worry—small blemishes add character and authenticity.

Step 7: Sanding and Finishing the Surface
Now that the structure is complete, it’s time to refine the surface to a mirror-like sheen.
Progressive Sanding
Begin with coarse grit (80–120), then gradually move to finer grits (up to 800 or higher). Wet sanding helps reduce dust and provides a smoother finish. Always sand in the direction of the grain.
Polishing
After reaching a high grit, apply polishing compound with a felt pad or buffing wheel. This enhances clarity and brings out the richness of the wood and resin.
Applying the Final Finish
Choose a finish that complements your table’s use and style:
- Oil Finishes : Mineral oil, walnut oil, or tung oil give a natural feel and are easy to maintain.
- Wax : Provides a soft sheen and protective barrier.
- Polyurethane : Adds durability, especially for high-use tables.
Apply multiple thin coats, allowing each to dry completely.
Step 8: Attaching Legs or Base
Your Live Edge Wood Epoxy River Table is nearly complete—but it still needs support.
Designing the Base
The base should complement the table’s aesthetics without overpowering it. Popular options include:
- Hairpin Legs : Minimalist and industrial.
- Trestle Base : Classic and sturdy.
- Metal Frame : Customizable and modern.
- Wooden Pedestal : Rustic and organic.
Ensure the base is stable and properly attached. Use brackets, screws, or bolts to secure it firmly to the tabletop.
Ensuring Stability
Balance is critical. Place the table on a flat surface and check for wobbling. Adjust legs or add shims if necessary.
Part III: Refinement, Reflection, and the Joy of Completion
Adding Personal Touches
Now that your Live Edge Wood Epoxy River Table is structurally complete, consider adding personal details that reflect your style or story.
Engraving or Burning
Add initials, dates, or meaningful symbols using woodburning tools or laser engravers.
Lighting Features
Consider integrating LED strips beneath the epoxy for a glowing effect, especially for nightstands or bar tables.
Functional Additions
Think about built-in features like charging ports, lazy Susans, or removable trays. These additions increase usability without compromising aesthetics.
Reflecting on the Process
Creating a Live Edge Wood Epoxy River Table is not just a project—it’s a journey of discovery. It teaches patience, attention to detail, and the ability to find beauty in imperfection. Every cut, pour, and sanding stroke is a meditation in craftsmanship.
As you run your hands along the smooth surface, tracing the natural curves of the wood and the shimmering path of the resin, you’ll feel a deep sense of accomplishment. You’ve taken raw materials and transformed them into something timeless—something that will be admired, touched, and used for years to come.
Sharing the Story Behind the Table
One of the joys of creating a Live Edge Wood Epoxy River Table is sharing its story. Guests will inevitably ask about the origins of the slab, the meaning behind the colors, or the challenges faced during construction.
This table becomes more than furniture—it becomes a conversation starter, a centerpiece of memory and meaning. Perhaps the wood came from a tree that stood in your backyard for decades. Maybe the epoxy color was inspired by a favorite place or person. Whatever the case, your table carries with it a personal narrative that enriches its presence.
Conclusion: Crafting Legacy Through Creativity
Crafting a Live Edge Wood Epoxy River Table is a labor of love, requiring equal parts skill, patience, and passion. It’s a process that demands attention to detail but rewards with unparalleled satisfaction. In today’s fast-paced world, taking the time to create something lasting and meaningful is a rare and beautiful act.
Through this journey, you’ve learned not only how to build a table but also how to appreciate the materials you work with. You’ve embraced the imperfections of nature and turned them into strengths. You’ve combined ancient techniques with modern materials to produce a piece that bridges past and present.
Ultimately, a Live Edge Wood Epoxy River Table is more than a functional object—it’s a testament to creativity, resilience, and the enduring beauty of the natural world. As you sit beside your completed masterpiece, remember that you didn’t just make a table. You created a legacy.